Garage Conversions Cardea Peterborough
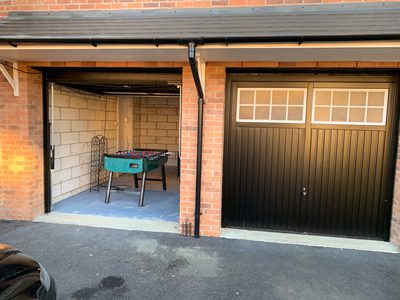
We were requested to submit a quote for a garage conversion based in Cardea, Peterborough. We were chosen due to our credibility, reliability and cost effective garage conversions.
Step 1 – Measure and order items for garage conversion
The garage dimensions were measured so we could order all items required for this garage conversion. This also included the brickwork and proposed window which would be fitted from our sister company Peterborough Doors. The bricks for this garage conversion were carefully selected by our local Peterborough Depot, ensuring that they would blend in to the existing brickwork when complete.

Step 2 – Garage Partition
A wooden structured partition was constructed to divide the existing garage and the new garage conversion. The partition was carefully assembled and secured from ceiling, floor and wall.
Once the partition was 100% secure, then the plaster boards were fitted to the garage side of this conversion. We used fire resistant plaster boards for additional home protection.

Once this task was complete then high quality thermal insulation was installed which would offer warmth and insulation to this partition. Our aim was to provide maximum thermal efficiency for the homeowner.

Once this task was complete then high quality thermal insulation was installed which would offer warmth and insulation to this partition. Our aim was to provide maximum thermal efficiency for the homeowner.

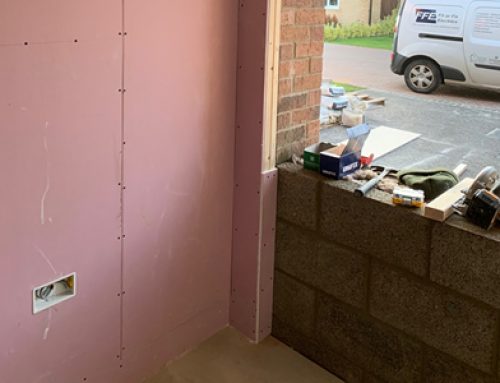
Stage 3 – Electrics within the garage conversion
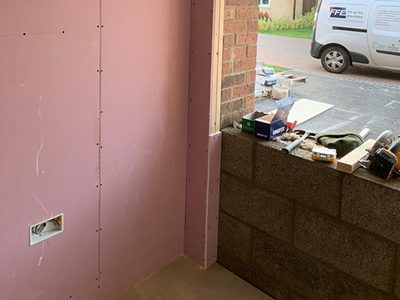
Working in conjunction with our fully qualified electrician, the plaster boards were fitted securing the insulation to the partition. The electrician installed his wiring to the first fix. This is when the wires are placed in position but the wires are not currently live. As you can see via picture the wires are placed through a hole within the pasteboard. The measurements are carefully selected via our electrician ensuring that they are correct to building regulations.

Stage 4 – ‘Toothing-out’ brickwork
There are many methods when tying a new brick work into an existing garage wall. The method we used was called ‘Toothing-out’. This involves removing alternative bricks which indicates a row of ‘teeth’, this is where our new bricks would be laid whilst interlocking into current wall. This process is far more time consuming than other fixing methods, however we prefer this method as it offers a much better finish than other methods.

Step 5 – Damp proof membrane and floating floor.
The existing garage floor was constructed to withhold general domestic use, so there was no need to upgrade the floor. However, a damp-proofing thermal insulation sheet was fitted before the new timber floor could be constructed.
The existing floor level from the passageway was 85mm higher than the ground level within the garage. The garage also has a slight slope towards the garage door. Timber joists were fitted around the garage conversions providing a stable level platform for the new floor to be installed. Consideration for the new flooring was also achieved. Air vents were also deliberated as this offers ventilation, allowing air to travel from one side of the building to the other.

Floating Garage Floor
Once the floor surround was achieved then joists were installed, running from one side of the room the other. Joists were carefully measured ensuring that they were of equal distance apart taking the floor board width into consideration. 75mm of king span installation was installed between the joists.
Choosing the right insulation is extremely important as Kingspan offers many benefits compared to cheap alternatives. Kingspan has high compressive strength which is essential for garage floors during conversions. The insulation boards have a high impact resistance. The thermal performance is also essential to maintain warms within the garage conversion. Even though we have installed DPM on to the garage floor, using these phenolic boards will also provide water proof resistance preventing any damp or mould growth. Fire resistance is also a huge concern when converting a garage. These boards have a class 0 fire rating, which is defined as a ‘medium risk’, which easily meets building and fire regulations.

Garage Conversion Wall
The garage door was removed and bricked up with careful consideration to match existing brickwork. A breeze block internal wall was also made which offers a cavity used to insulate the wall with remaining property. This cavity was then filled with cavity insulation providing the most energy efficient way to keep this garage conversion warm throughout the winter. The wall was carefully measured ensuring adequate space to install the new double glazed window.

Garage conversion Ceiling lights
Meanwhile the electrician returned to install the second fix ceiling light wiring. The lights were not yet installed as this would make plastering much easier.

Plastering the Garage Conversion
Before plastering can commence dust sheets were laid to protect the new flooring from debris and spillages. All holes were covered (ceiling lights and plug socket holes). Gaps between plasterboards were also taped offering a flat platform for the new plaster.
PVA was then inserted over all plasterboards creating a bond between the layers of plaster. This was diluted to a ratio of 1:4 (1 part PVC to 4 parts water), this is rolled on as a PVA glue.
The first layer of plaster is then coated using a hawk board, trowel and float. The plaster is placed onto the hawk board using the trowel, then the float is used to force the plaster from the hawk onto the walls. Plastering is an extremely skilled job so we only use the best plasters in Peterborough.
Once all of the walls are plastered then skimming and smoothing is required. We normally wait for around 20mins to allow the first coat to settle before skimming. This is where we get rid of any lumps and bumps providing the perfect finish. A wet brush can also be used around the edges ensuring a smooth finish.
The surface can then be scraped before a second coat is added. This is achieved using a devilling float. The second layer is then applied which is a thin smooth layer of plaster approximately 2mm thick.
A spray gun is then used to polish up as a finish look. A trowel is used to smooth the surface. A float is then used ensuring a smooth flat finish.

Radiator and sockets installed within Garage Conversion
To provide a warm room and conform to building regulations, a radiator was installed. Our qualified heating and plumbing engineer drilled through the wall from the passageway (behind an existing radiator). He then plumbed into the pipework from the hallway and continued heating into the new radiator in the garage conversion. This ensured that this garage conversion would remain at a comfortable temperature just like the rest of the property.
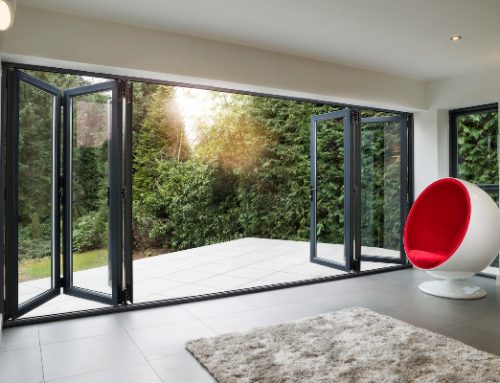
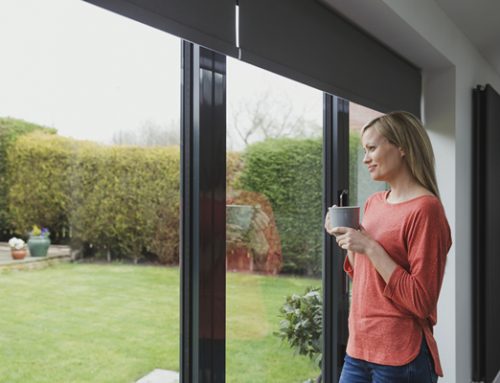
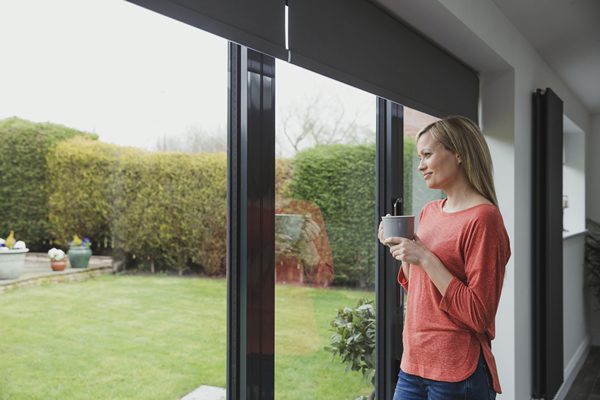
The new garage window was also installed ensuring a 10mm expansion gap was achieved all around the window. The area around the double glazed window was then silicone and then beaded ensuring that it was airtight and a perfect finish. A window board was then installed within the inside of the window, then chalked ensuring there were no gaps between the plaster and the new window.
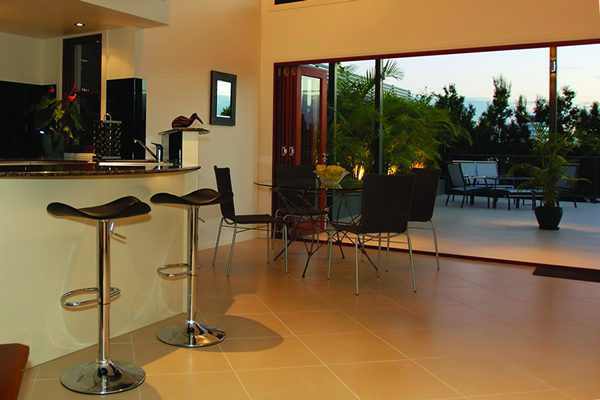
The new flooring was then laid, following the same pattern and design from the hallway.

Skirting boards, lighting and switches
To provide the perfect finish then the new door frame, skirting boards were fitted. By placing the skirting boards over the new flooring makes a perfect finish to the flooring as no cuts are required. The ceiling LED lights and sockets are now installed. The electrician is now required to do an internal circuit electrical check, ensuring that his work is safe and up to building regulations. Once this is achieved then a full circuit check is performed, ensuring that the full circuit is safe. Once this is done then an electrical safety certificate is then awarded to the occupiers.
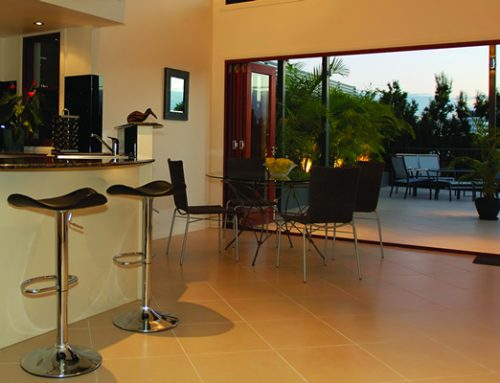
Do Garage Conversions increase house prices?
Garage conversions will certainly increase most house prices as they offer an additional room to your property. This particular house value has increased by around £3500.00 which easily out ways the price to convert a garage.

Leave A Comment